The front squat grip is not a badge of toughness, and a painful wrist is not proof that you are training hard enough. Your job is to keep the bar secure across the front of your shoulders while your torso stays tall and your elbows stay high. There are several ways to do that. The best option is the one you can repeat for every clean rep without turning the set into a mobility contest.
What the front squat grip needs to accomplish
A good front squat grip lets the bar rest on the meaty shelf between your front shoulders and collarbone. Your hands help guide the bar, but your shoulders and upper back should carry most of the load. If your wrists are taking the entire burden, the setup is probably off.
The front squat grip also has to preserve elbow height. When your elbows drop, your upper back rounds, your chest falls forward, and the bar begins rolling toward your throat or arms. That is not a strength breakthrough. It is a breakdown in position.
Start with the bar in a rack at about upper-chest height. Step under it, bring your shoulders forward, and let the bar settle against the front of your shoulders. Unrack it with two or three controlled steps, brace your abdomen, and take a breath before descending. You should feel pressure through your whole foot, not just your toes.
Use an empty bar for your first practice session. Ten slow repetitions tell you more than loading 135 pounds and hoping your anatomy negotiates a peace treaty.
The clean grip: useful, but not mandatory
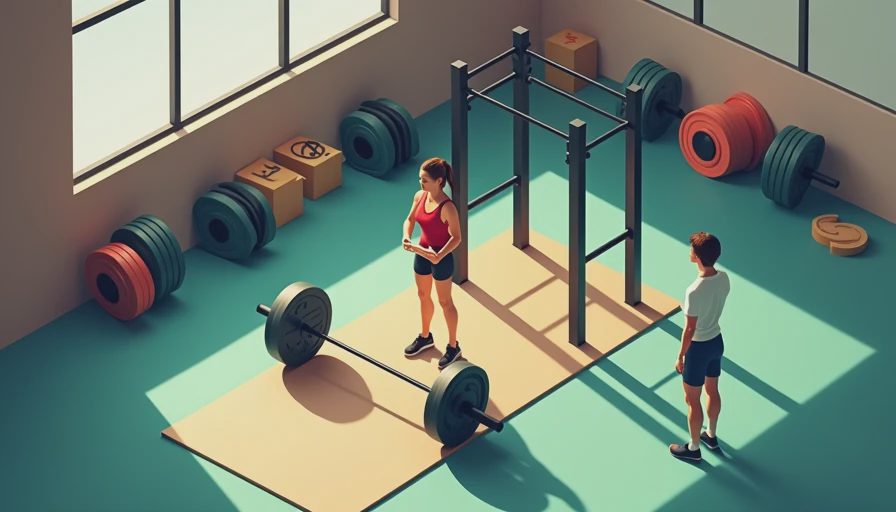
The classic front squat grip resembles the receiving position of a clean. Your fingers wrap around the bar, wrists extend, and elbows point forward and upward. Some lifters can place four fingers on the bar while keeping their upper arms nearly parallel to the floor. Others can manage only two fingers. Both can work.
Do not force a full-finger grip if your wrists or elbows complain. A barbell front squat is not a flexibility exam. You need enough finger contact to keep the bar from drifting, not a dramatic wrist angle for a photograph.
With the clean grip, think “fingertips connected, elbows driving forward.” The bar should stay close to your neck without pressing directly into your windpipe. Keep your thumbs relaxed rather than squeezing the bar as if it might escape down a hill.
If you cannot keep your elbows high, reduce the weight. A common mistake is using heavy sets to hide a position that is not yet stable. Practice three sets of five with a light load, pausing for one second at the bottom. Your elbows, trunk, and breathing will improve faster than they will with sloppy max-effort reps.
The crossed-arm front squat grip
The crossed-arm option is often the simplest solution for people who lack wrist or shoulder mobility. Set the bar on your shoulders, cross your arms in front of it, and place each hand over the opposite shoulder or near the bar sleeves. Your upper arms should remain high enough to keep the bar from rolling forward.
This front squat grip usually feels friendlier because your wrists stay closer to neutral. It can also make the setup less intimidating for beginners, larger-framed lifters, and anyone returning after a wrist injury. You still need a firm upper-back position; crossed arms do not excuse a collapsed chest.
Practice the movement with an unloaded bar first. If the bar slides toward your fingers, lift your elbows and widen your upper back by thinking about spreading the bar apart. If it presses painfully into the front of your shoulders, adjust the bar slightly and check whether your upper back is rounded.
The crossed-arm position is not automatically inferior. It is simply a different tool. Choose the tool that lets you train the legs and trunk instead of spending the set negotiating with your wrists.
Straps, handles, and other practical modifications
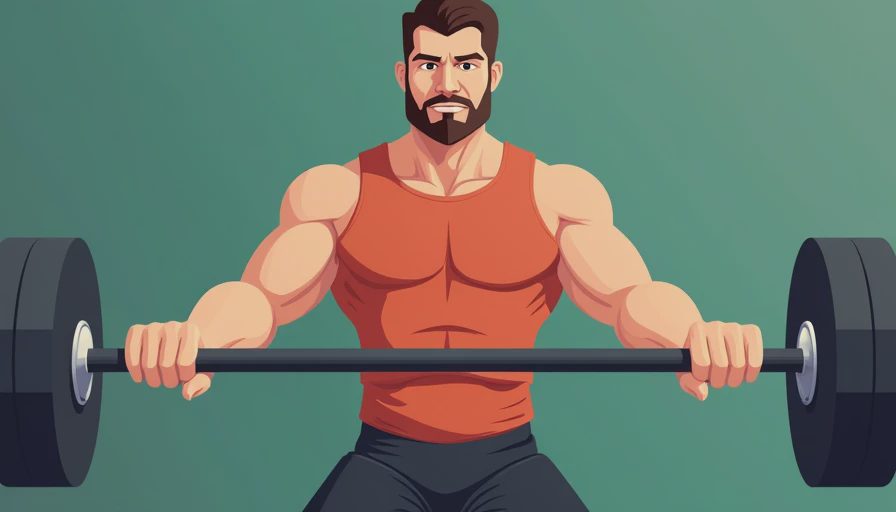
Lifting straps can make a front squat grip much more comfortable. Loop a strap around the bar, leave the ends long, and hold those ends as you squat. You get the leverage of the clean position without demanding extreme wrist extension. This is especially useful when ankle, shoulder, or wrist mobility limits your regular setup.
A safety squat bar is another option, although it changes the exercise because the bar has built-in padding and handles. If your gym has one, it can provide a more accessible squat pattern while you build strength. Dumbbells held at the shoulders and kettlebell goblet squats are also effective ways to practice an upright squat without pretending every body has the same joint structure.
Do not use straps to ignore sharp pain, numbness, or tingling. Those symptoms deserve attention from a qualified health professional. Normal stretching tension is one thing; electrical pain or worsening symptoms are not a challenge to push through.
Common mistakes that ruin the setup
The first mistake is gripping too tightly. A death grip often pulls your wrists into unnecessary extension and makes your elbows drop. Keep the fingers connected, but let the shoulders and upper back create the shelf.
The second mistake is starting with the bar too low in the rack. If you have to shrug dramatically or rise onto your toes to unrack it, move the hooks higher. A stable walkout begins before the squat begins.
The third mistake is allowing the knees to cave while blaming the front squat grip. Your grip affects the bar position, but your whole squat still requires controlled knee tracking, a braced trunk, and pressure across the foot. Film one set from the side. Look for a bar path that stays roughly over the middle of your foot.
The fourth mistake is chasing depth that destroys posture. Squat as deep as you can while maintaining control and a strong torso. More depth is not better if the bar rolls forward and your back folds.
A simple practice plan for this week
Choose one grip and practice it twice this week before your working sets. Use an empty bar or a load you could lift for at least ten additional repetitions. Perform three sets of five, pausing briefly at the bottom and holding the elbows high. Rest about two minutes between sets.
After each set, ask three questions: Did the bar stay on my shoulders? Did my elbows remain high? Did I feel pressure through my whole foot? If the answer to one is no, reduce the load and fix that issue before adding weight.
For strength work, four sets of four to six repetitions is plenty for most recreational lifters. Leave one or two good repetitions in reserve rather than grinding until your wrists, back, and breathing all file separate complaints. Add weight in small jumps only when every rep looks similar.
The best front squat grip is the one that gives you repeatable mechanics. Eat enough, train hard, repeat. You do not need a heroic wrist angle, a special supplement, or a viral technique. You need a secure bar, a braced trunk, patient practice, and a load you can control.

No comments yet — be the first to share a thought.