Start with 2 sets of 8 to 12 controlled reps. The hip thrust is a lower-body exercise that trains your glutes by extending your hips against resistance. Set your upper back against a stable bench, plant your feet, and lift your hips until your torso and thighs are roughly in line. Start with body weight or a light load; add weight only when you can repeat that position without arching your lower back.
You don't need a barbell, a special machine, or a 45-minute glute routine to get something out of this movement. You need a stable setup and a little patience. Here's how to make it work in a real-life training week.
Set up and do a hip thrust
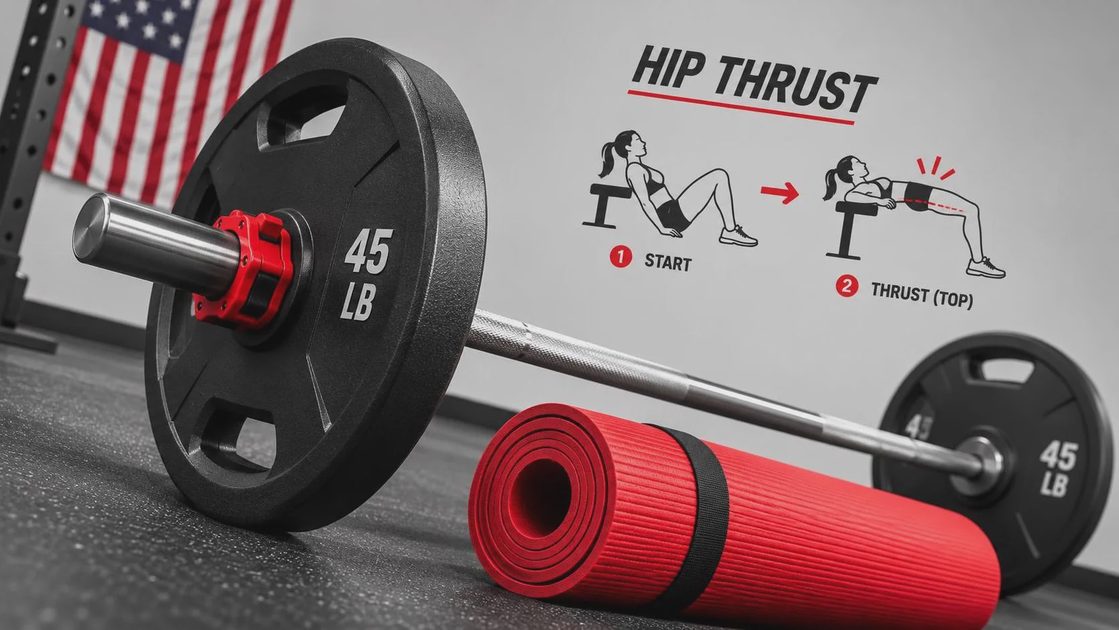
Sit on the floor with your upper back against the long edge of a sturdy bench. The bench should not slide when you lean into it; brace it against a wall or use a stable setup designed for lifting. Bend your knees and place your feet flat, about hip-width apart to start.
If you're using a dumbbell, rest it across the crease of your hips and hold it securely with both hands. For a barbell, use a pad and position the bar across that same crease, not on your stomach. A bodyweight version is a perfectly good place to learn.
Brace your abdomen as though you're preparing for a gentle punch. Push through your feet and raise your hips, allowing your upper back to pivot against the bench. At the top, squeeze your glutes and stop when your hips are extended and your torso is roughly parallel to the floor. Your shins will often be close to vertical, though the exact foot position varies with your build.
Lower your hips under control, then repeat. Breathe in as you lower and breathe out as you push up. Keep your head and neck comfortable rather than throwing your head back to chase extra height.
What a hip thrust trains
Your gluteus maximus does much of the work as your hips extend. Your hamstrings also contribute, and your abdominal muscles help keep your trunk steady. You may feel the movement in more than one place; that doesn't mean you're doing it wrong.
A hip thrust can help build glute strength and muscle when you practice it consistently and gradually make it more challenging. It won't selectively burn fat off your hips or backside. Fat loss happens across the body, and where it comes off first isn't something an exercise can dictate.
This movement also isn't mandatory. Squats, lunges, step-ups, and deadlift variations can train your lower body too. Pick exercises you can perform comfortably and stick with. A solid plan beats the perfect exercise you dread setting up.
Choose your weight, sets, and reps
For your first few sessions, use body weight or a light dumbbell and do 2 sets of 8 to 12 reps. Rest about 1 to 2 minutes between sets. Aim to finish each set feeling as if you could have done another 2 or 3 clean reps. If your back arches or your feet shift halfway through, stop the set and adjust.
Once 12 controlled reps feel manageable in both sets, add a small amount of weight the next time. You can also add a third set before increasing the load. Progress doesn't have to happen every workout; keeping the same weight while improving control is useful work.
Train the hip thrust 1 or 2 times per week as part of a broader strength program. If you do it twice, leave a day or two between sessions to recover. Include a squat or lunge, an upper-body push and pull, and other movements that fit your schedule. Two full-body workouts a week are a practical starting point for a busy person.
Fix the mistakes that make a hip thrust uncomfortable
If you feel pressure in your lower back, check the top position. Ribs flaring and a big back arch usually mean you're lifting past the point where your hips are doing the work. Lower the weight, brace your abdomen, and stop when your body forms that roughly straight line from shoulders to knees.
If your hamstrings are doing all the talking, move your feet a little closer and try again. If your knees feel uncomfortable or you mostly feel your thighs, experiment with moving your feet slightly farther away. Small adjustments are enough; there's no universal foot placement that fits everyone.
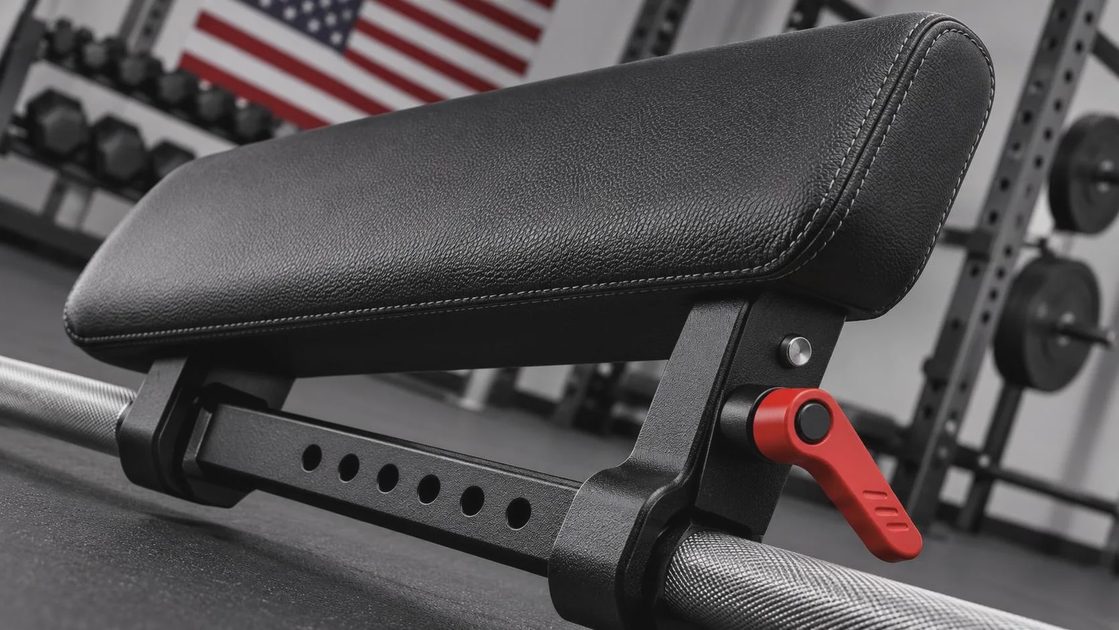
If the bench edge digs into your back, check its height and position. Your upper back should have a secure contact point, not perch precariously on the edge. A folded towel can add padding, but it shouldn't make you slide. A loaded bar can also be uncomfortable across the hips, so use a suitable pad and keep the load light enough to control.
Sharp pain, dizziness, or symptoms that persist after you stop are not badges of effort. Stop the exercise. If pain keeps returning, a physical therapist or other qualified clinician can help you work out a comfortable alternative.
Try a simpler variation when equipment is limited
The floor glute bridge is the easiest substitute: lie on your back with knees bent and feet flat, then lift your hips until your torso and thighs form a comfortable line. The floor limits the range of motion and removes the bench setup, which makes it a useful starting point or home-workout option.
When that gets easy, place a dumbbell across your hips or slow the lowering portion. You can also return to a bench-supported hip thrust with body weight before adding a load. There's no prize for jumping straight to the heaviest bar in the room.
This week, put two sets on your calendar after a squat or lunge exercise. Write down the weight and reps, and leave a little effort in reserve. Eat enough. Train hard. Repeat.

No comments yet — be the first to share a thought.